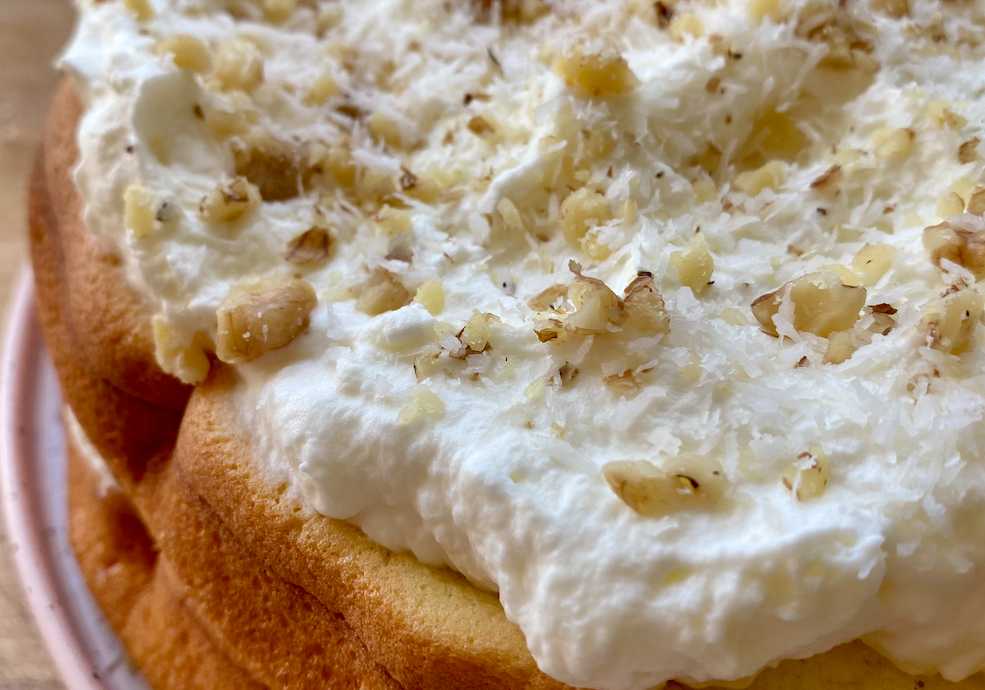
Chiffon Fruit Cake
August 01, 2020


1 of 4
My family's favorite! If you don't cakes with super sweet icing, this is for you. The toppings are very flexibile and fun, definitely optional, but it will add a bit of oomph. I've baked this recipe a handful of times, and modified it to my liking. The original recipe was a Matcha Chiffon Cake, click [this link] to see the recipe.
Okay, here's the part that I'm gonna ramble about food science and things you may not find interesting, so feel free to scroll down.
Flour 🍞
As mentioned in my previous recipe on banana bread, accurately measuring flour is also very important here.
What I will touch upon is protein content in flour. This recipe calls for cake flour, but it's definitely not required, you can use all-purpose. The difference between the two is that cake flour has less protein(around 7-9%) compared to all-purpose flour, which has around 10-12%. Protein allows for more gluten to form. More gluten adds more rise and shape to your baked goods. This means that if you use all-purpose flour, you will end up with a chewier cake.
On a different note, gluten is formed when you mix your flour with a wet ingredient, the more you mix, the more gluten there is in your batter. In this recipe, we fold the egg whites into the flour mixture for two reasons. The first is to form less gluten. The second is so that our whipped egg whites won't deflate.
So by using cake flour, and folding your mixture, you'll end up with a VERY fluffy chiffon cake!
Stiff Peaks 🥚
You want room temp eggs when making a meringue. Room temp eggs means that its proteins will be more flexible, causing it to be airier and lighter.
Since meringue is just egg white whipped with air, it can easily deflate. To avoid this, we use stabilizers. Stabilizers, such as vinegar, lemon juice, and cream of tartar, encourage the amino acids to bond together, making the meringue stronger and less likely to deflate.
I highly recommend reading this article on the science behind meringues, it's very interesting.
Ingredients
- 1 cup cake flour (100g, sifted)
- 5 eggs
- 1 TEAspoon baking POWDER, not soda
- ¼ TEAspoon salt
- 4 TABLEspoon Sugar (50g)
- 1 TEAspoon vanilla extract, or 3 teaspoons of culinary-grade matcha powder
- ⅓ cup Milk (70g), warmed if using matcha for flavoring
- ¼ cup Vegetable oil (50g)
- 1 pint heavy whipping cream + 4 tablespoons of sugar
- Strawberries, canned peaches, mango, or any other fruit for assembly. You can also do just walnuts and coconut flakes.
Instructions
- Pre-heat oven, 350degrees.
- Spray two 8-9 inch cake pans with cooking spray, then line with parchment paper
- Whisk together cake flour, baking powder, and salt.
- Beat egg yolks with sugar until light in color and sugar has melted
- Stream in oil into the egg and sugar mixture. Mix till combined
- Sift flour mixture into the egg mixture, then whisk it, but don't overmix.
- Mix milk with vanilla extract. If you're using matcha, make sure your milk is warm.
- Pour milk and flavoring mixture into your egg and sugar mixture, whisk until combined.
- With your mixer on low, mix your egg whites. Once bubbles form, change your mixer speed to high until stiff peaks are formed.
- Take a third of the whipped egg whites and FOLD it into the egg mixture. Once incorporated, fold in the rest.
- Pour it into your pans, then run a chopstick or knife through to get rid of any bubbles
- Bake for roughly 12 minutes, the top should be dry and it should rise.
- Take the cake out of the oven, then dump them onto a surface to cool for around 30 minutes, cutting board will work. If you let it cool in the pan, it will deflate into a funny pyramid looking shape.
- Put the whipping cream into mixer, start on low. Once bubbles form, raise it to medium, then high. Add in sugar one tablespoon at a time. Mix until you get a fluffy consistency
- Spread cream across first layer of cake
- Assemble with your choice of fruit, walnuts, coconut flakes.
- Put second layer of cake over the first layer
- Spread cream across second layer, then assemble with toppings again
- Refrigerate for atleast 6 hours, but who's gonna stop you, LOL